
5 minutes to replace your fume extractor’s motor
How do you replace your extractor’s motor?
If you have a BOFA extractor in your industrial environment, you may at some point need to replace the unit’s motor, whether because of a failure or simply to carry out an upgrade. Replacing the motor is an essential procedure for keeping your extractor working properly. In this article, we guide you through the steps needed to replace your extractor’s motor safely and efficiently.
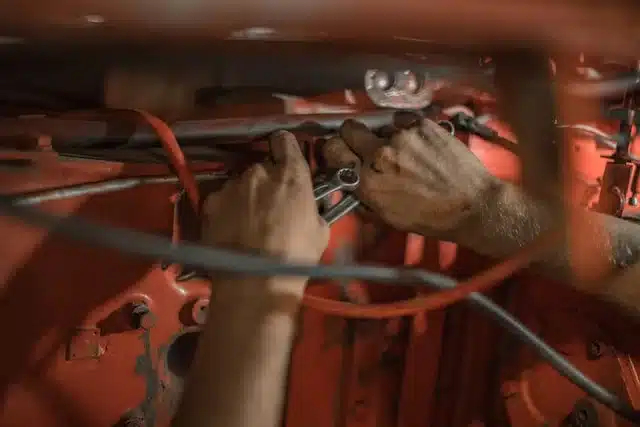
The steps for replacing your extractor’s motor
Before you start, make sure you have the necessary tools to hand, such as screwdrivers, an adjustable spanner and protective gloves. Secondly, also make sure you have the instruction manual supplied by the manufacturer. This manual contains specific information on your extractor model and the motor replacement steps. Furthermore, it is important to note that replacing your extractor’s motor requires a certain amount of technical expertise. If you are not sure of your skills in this area, it is advisable to call on a professional to carry out the replacement. This can ensure that the work is done correctly and that the extractor operates optimally.
Replace your motor in 7 steps:
Step 1
First, switch off the extractor’s power supply and unplug all cables to ensure your safety throughout the replacement process. The aim is to make sure the extractor is powered down and disconnected from every power source.
Step 2
Remove the access panels. To do this, use the appropriate tools to take off your extractor’s access panels. These panels are generally located on the sides or at the back of the unit. Once the panels are removed, you will have clear, unobstructed access to the motor.
Step 3
Disconnect the faulty motor. To do this, you need to locate the electrical cables connected to the motor and disconnect them carefully. Also, make a note of where each cable goes to make reconnection easier later. If the motor is attached to the extractor’s frame, use the adjustable spanner to unscrew the bolts or nuts holding it in place.
Step 4
Next, it is time to install the new motor. Take the new motor that is compatible with your extractor model and carefully place it in the position of the previous motor. Then make sure it is securely fixed to the extractor’s frame using the appropriate bolts or nuts.
Step 5
Reconnect the cables. Reconnect the electrical cables to the new motor, following the marks you made when disconnecting them. Make sure the connections are tight to avoid any electrical connection problems.
Step 6
Check the other components of your unit. It may be worth taking the opportunity to inspect other components of your extractor, such as the filters, belts or pulleys. Replace any faulty or worn part if necessary, in order to optimise the overall performance of the unit.
Step 7
Finally, reassemble the components. You can now refit all the components you removed to access the motor and close the extractor’s cover. You can then plug the extractor back in and switch it on to test the new motor.
Below you will find a video produced by BOFA. It is a demonstration video that explains and guides you through replacing the motor of your fume and particle extractor.

In conclusion, replacing my extractor’s motor may seem a daunting task. However, with the right knowledge and skills, you can do it yourself. That said, if you are not sure of your abilities, it is always advisable to call on a professional to carry out the work. By following these steps, you can be confident that your extractor will operate optimally with a new motor in good working order.